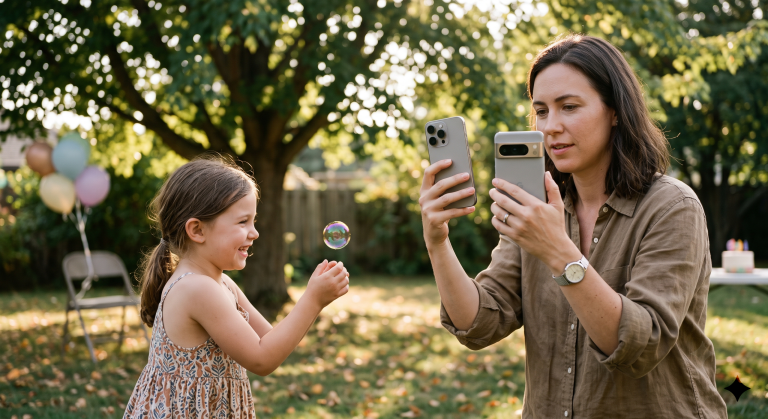
The worst photos I’ve ever taken were at my middle daughter’s fifth birthday party. Full flash, overhead lights, about fifty shots of kids in party hats. Sharp, technically fine, and completely lifeless. Every face looks like it’s being interviewed. I deleted most of them a year later.
That was when I stopped using the flash entirely.
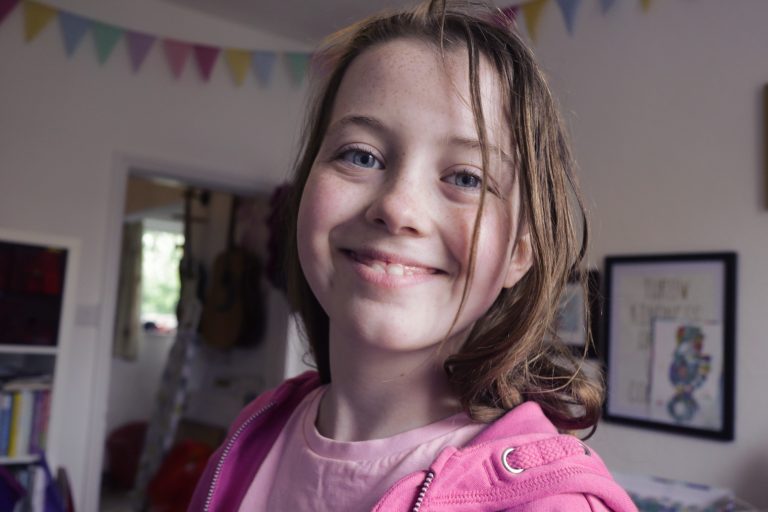
Not because I knew what I was doing. I didn’t, not then. It was more that the alternative couldn’t be worse. I started shooting in whatever light we already had, which meant a lot of slightly dark, slightly blurry photos for a while. But occasionally something came out looking like a photograph taken by someone who knew what they were doing, and when I went back to figure out why, the answer was almost always the same. I’d been near a window.
Window light is the thing. It’s the answer to most indoor photography problems and it sounds so obvious that people skip past it, but I mean it quite literally — move your child into the light from a window and most of the hard work is already done. Not near a window. In the light from it. There’s a particular quality you get through glass, especially on an overcast day, that’s soft enough to avoid hard shadows but bright enough to actually take a photo. Overcast is better than sunshine here, which is useful if you live in the UK and have access to approximately eleven months of it a year.
The trick I didn’t know for ages was to turn off the overhead light when you do it. If there’s a mix of window light and yellowish ceiling bulbs, the camera (or your phone, it doesn’t matter) gets confused about colour temperature and you end up with half a face looking blue and half looking orange. Turn the ceiling light off. If it feels dark, it won’t look dark. Trust the window.
My youngest, who’s four and constitutionally incapable of sitting still, is the reason I figured out the next thing: you don’t need to freeze kids, you just need to stop fighting bad light on top of everything else. The failure mode with indoor photography isn’t usually motion blur. It’s that you’re in a dark room, your phone has cranked the ISO up trying to compensate, and you’ve ended up with a noisy grey mess. Get enough light in by positioning near the window, and the motion problem becomes much more manageable. On a phone, the camera is doing most of this for you already. If you want more control over what your phone is actually doing, these simple phone photography tips for parents are worth a read. On a dedicated camera, bump the ISO: 1600 is fine, 3200 is fine, 6400 starts to show but can look great depending on what you’re going for. A slightly grainy photo with the right light beats a clean photo with wrong light every time.
The thing nobody said to me for a long time is that you can also just let them be blurry. I have a photo of my eldest running through the kitchen, taken on a slow shutter speed, where she’s mostly a suggestion of a child (just her face in focus because she happened to turn toward me for half a second). It’s one of my favourite photos of her. It looks like what family life actually feels like, which is mostly movement and noise and the occasional still moment. The same instinct is behind everything I wrote about getting natural photos of kids without posing: stop trying to control the shot and just be ready for it.
There’s a third thing and then I’m done. Lamps. Not overhead ones, the kind down at kid level, warm bulbs in the corner. On their own they won’t be enough, but in the evening when the window light is gone and you’re not going to pack up and come back tomorrow, a lamp near where the kids are playing does something different from overhead lighting. It’s directional, it’s warm, and it makes a photo feel like it was taken at a specific time of day rather than in a void. Some of my favourite pictures of my daughters are from bedtime reading. The light’s low, there are shadows everywhere, and they look like their actual childhood rather than a magazine version of it.
About The Author